
Did you ever need a simple Umbraco site for testing basic functionality of the Cms. Well look no further, here is a few steps I use a few times every week when I need to test one or another thing, in either the Cms or on Umbraco Cloud.
I do test a lot of Umbraco installations from scratch. Part of my job, working on Umbraco Cloud, is making sure that new versions get released and made available for new projects on Umbraco Cloud. Therefore I've created at least 1.000 Umbraco sites that all contain a very basic site structure. This ensures that a installation, can create document types and templates, that content can be created based of document types, and that media can be uploaded and viewed. Further deploying basic content between environments is also tested out.
We do have many automated tests that does these things, but I've found myself creating the basic structure manual many times.
This will show my basic structure, which can be used to start a simple Umbraco project.
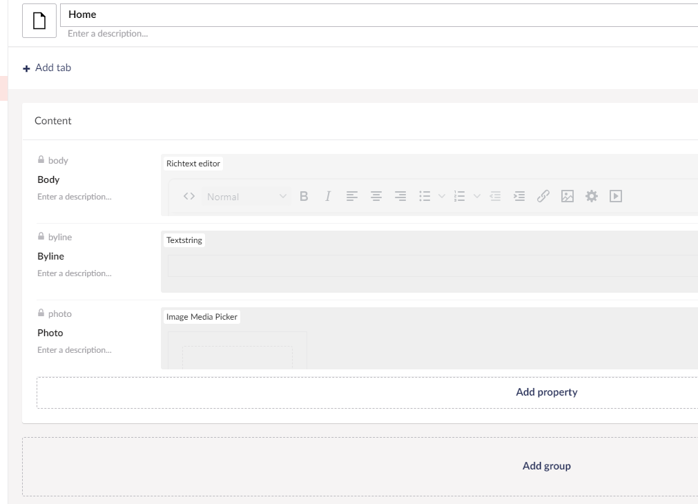
Document Type
I simply call it "Home" and it consists of the following properties:
- Body - Richtext Editor
- Byline - Textstring
- Photo - Image Media Picker
Template
The template is simple - it will "just" make sure that we are rendering out all the properties that we created in the document type. By doing so we will test that different property converters are working, and that ImageSharp is doing its work with resizing images. Further on Umbraco Cloud we will be testing the blob provider that stores the ImageSharp generated images in Azure Blob storage
@using Umbraco.Cms.Core.Models;
@using Umbraco.Cms.Web.Common.PublishedModels;
@inherits Umbraco.Cms.Web.Common.Views.UmbracoViewPage<ContentModels.Home>
@using ContentModels = Umbraco.Cms.Web.Common.PublishedModels;
@{
	Layout = null;
}
<html>
    <head>
        <title>@Model.Name</title>
    </head>
    <body>
        <h1>@Model.Name</h1>
        <div>@Model.Body</div>
        <div><em>@Model.Byline</em></div>
        @{
            var typedMediaPickerSingle = Model.Value<MediaWithCrops>("Photo");
            if (typedMediaPickerSingle != null)
            {
                <img src="@typedMediaPickerSingle.GetCropUrl(width:500)" alt="@typedMediaPickerSingle.Value("alt")" />
            }
        }
    </body>
</html>
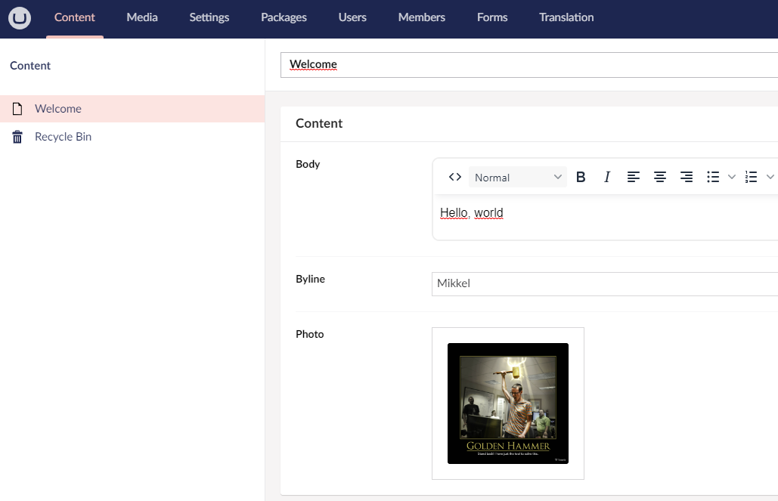
Content
Now it is time to create some content based on the document type. We need to upload a media to the media library, and then create the content. Here is how that could look
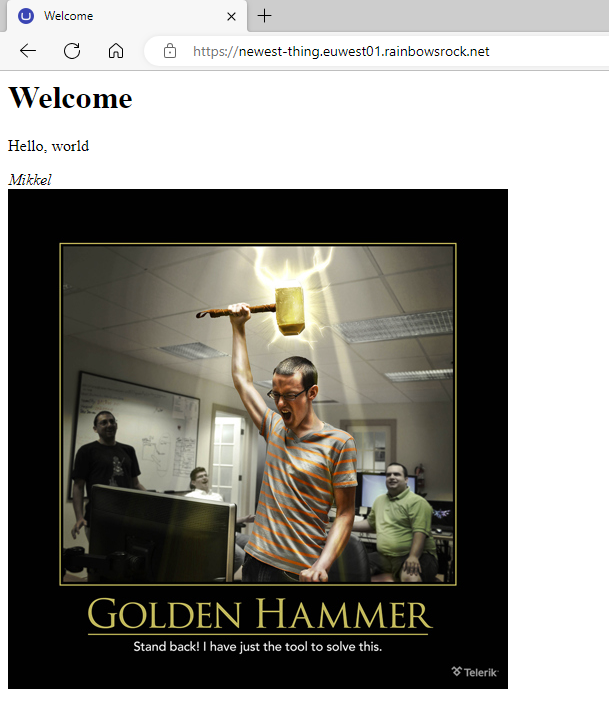
With the above in place, we can now render the page, and make sure that preview and publishing are working as expected. The result will look a little like this:
Conclusion
That is it - it's pretty simple to get something up and running to test the basic functionality of a Umbraco site - for me this tests a few features of Umbraco Cloud as well.
An alternative is of course to "just" install a starter kit, but here we have to be certain that the starter kit we are installing is reliable and is supposed to work with the version of Umbraco that we are currently using. That is the main reason I use this approach, as it will work on any version of Umbraco, and isn't dependent on a compilation, or a specific Umbraco version.