
This is part two in my series on Key Vault if you havn't yet, make sure to read the Intro to get the basic idea of the concept.
Creating and accessing an Azure Key Vault
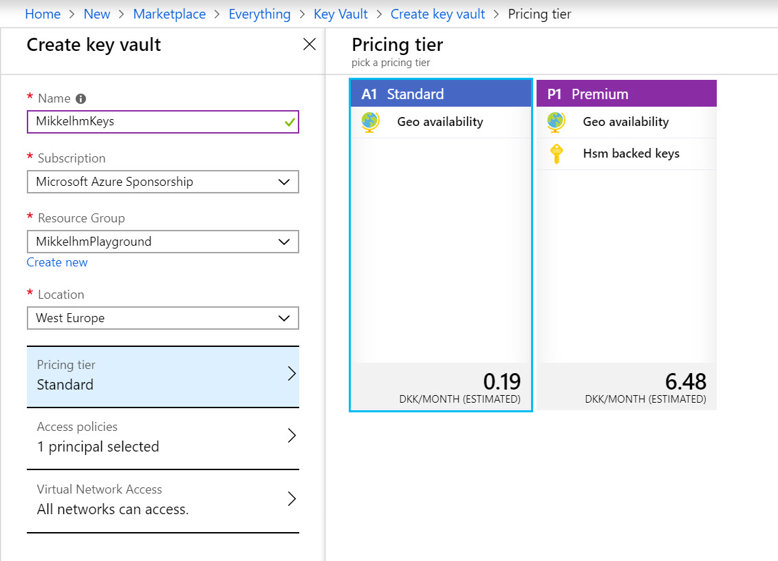
Step one is creating a Key Vault - The thing about Key Vault is that is isn't free, but pricing for that I've been using it for is measured in 10.000 operations, and the price is 0.0026€. If we will ever pay more than 1€ per month - beers will be on me.
Creating the vault is done via the UI, but Create resource -> Key Vault
or via the Azure cli by running:
az keyvault create --name "MikkelhmKeysCli" --resource-group "MikkelhmPlayground" --location "West Europe"
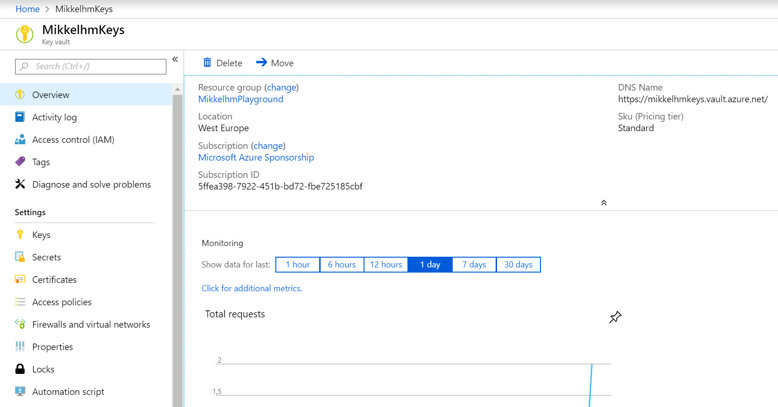
Doing the above commands will give you a brand-new Key Vault. As mentioned earlier I'll focus this post on the Secrets part of the Key Vault feature.
Now it is important to know what you have, and how to use it. By default, the Key Vault is closed, and no one other than the person who created it can access it. Access in Azure is done by granting a Service Principal access to the vault. Service Principals and identity management in Azure, is a topic all on its own, but i'll try to show some short examples on how to create a Service Principal, where we can create a Token that can be used for accessing the Key Vault.
Getting an Access Token for the Key Vault
The objective is to create a Service Principal and generate a token for it. The easiest way to do so via the Azure Portal is the following
go to Azure Active Directory -> App registrations -> New application registration
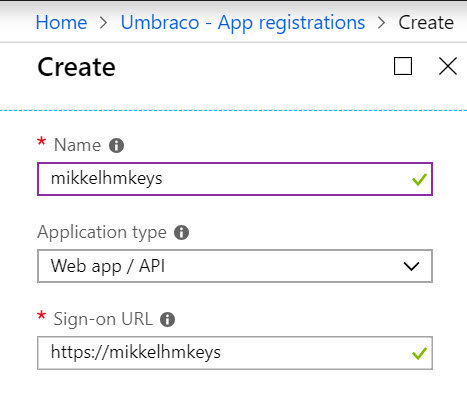
This registers an application in Azure Active Directory, but at the same time provides a Service Principal, that is the identity of that application.
Once created, notice the "Application ID" of the application. Next you need to go to "Settings" -> "Keys", and add a new Password - That password is the secret that will be used as a token for accessing the Key Vault, in combination with the Application ID.
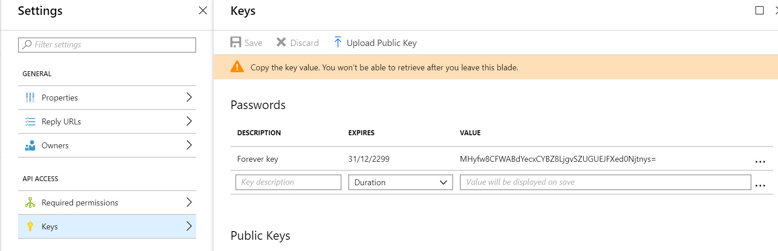
In the above example, the settings will be
Application ID: 5054ccd8-c960-485a-8cf7-7f5b135e8142
Token: HMyfw8CFWABdYecxCYBZ8LjgvSZUGUEJFXed0Njtnys=
With the above in place, we need to grant access to the Key Vault for the newly created Service Principal, this is done in the portal via the Key Vault "Access Policies" -> "Add new". Here we can add the Service Principal created via the application registration and set its access rights.
The above can of course also be done via the Azure Cli with a few simple commands
az ad sp create-for-rbac -n MikkelhmKeysCli --skip-assignment --password MyRandomAccesst0ken --years 100
az keyvault set-policy --name MikkelhmKeysCli --spn bf5b0774-947e-4699-87d0-c87178718601 --secret-permissions get
For the cli example we got these settings
Application ID: bf5b0774-947e-4699-87d0-c87178708601
Token: MyRandomAccessT0ken
Thats it - we now have an Application Id and a Token, and are ready for part 3 which is using the secrets in a web app